Marvel-ous Beanie x
Well! That was a fun afternooon, I love how these hats work up so quick!
I have a Basic Go To Pattern for my Beanies, then I add Motifs, Brims, Ears, eyes and any old Bits and Bobs really that make them into so many things.
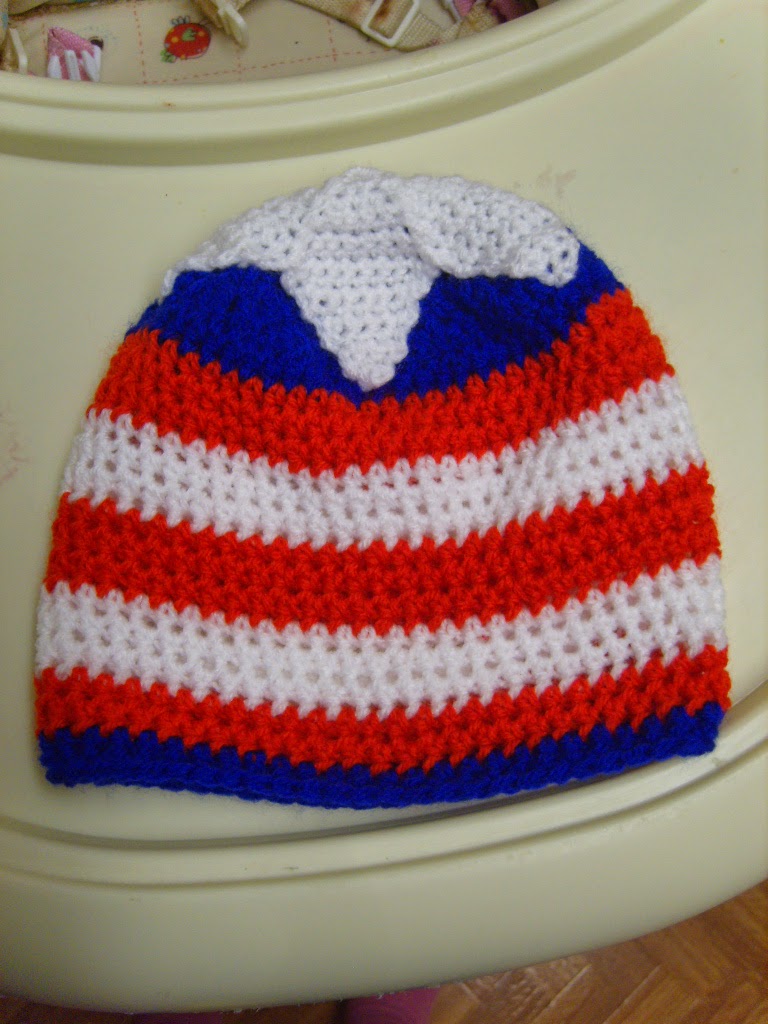
Today I was making a hat for a 'soon to be' 8 yr old Boy, He is a Marval Fan so I thought he would like
Captain America Sheild (who wouldnt!! if you were an 8 yr old boy at least lol ).
Rnd 1: Ch 1, 12 DC in 3rd ch from hook, join with slst (12 st)
Rnd 2: Ch 1, 2DC in each st join with slst in top of first st (not ch1) (24 st)
Rnd 3 Ch1, *1 DC in (first)st 2 DC in next st* repeat to end joint with slst in first st (36 st)
Rnd 4: Ch1 * 1 DC in next 2 st 2 DC in next* repeat to end join with slst in top first st (48 st)
Rnd 5: Ch1 *1 DC in next 3 st 2 DC in next* repeat to end join with slst in top of first st (60 st)
Rnd 6 Ch1 1 HDC in each st (60 st)join slst in forst st
Rnd 7-21 repeat Rnd 6
Rnd 22 Ch1 1 SC in each st join slst in first, Finish and weave in ends .
When i change colour, I use the join to do it, when you slip stitch to the top of the stitch, pick up the new colour and finish your stitch with it, tie it off to the old colour and work your stitches over the 2 ends, this stops all the weaving in ends to finish your hat, you also dont see a Step if you use this method.
 Then stitch in place, dont stitch too tight, you need movement in the hat or it wont stretch to fit, when its all secure turn your hat inside out and begin the job of neatening up the ends.

I have a Basic Go To Pattern for my Beanies, then I add Motifs, Brims, Ears, eyes and any old Bits and Bobs really that make them into so many things.
Today I was making a hat for a 'soon to be' 8 yr old Boy, He is a Marval Fan so I thought he would like
Captain America Sheild (who wouldnt!! if you were an 8 yr old boy at least lol ).
I sometimes use a magic ring but as I was covering the top with a star I dont mind a hole,
Then we do Increase rounds to get us to the crown size we need.
(For this pattern work in rounds, also I dont count the ch1 as a stitch, just a move up st)
Rnd 1: Ch 1, 12 DC in 3rd ch from hook, join with slst (12 st)
Rnd 2: Ch 1, 2DC in each st join with slst in top of first st (not ch1) (24 st)
Rnd 3 Ch1, *1 DC in (first)st 2 DC in next st* repeat to end joint with slst in first st (36 st)
Rnd 4: Ch1 * 1 DC in next 2 st 2 DC in next* repeat to end join with slst in top first st (48 st)
Rnd 5: Ch1 *1 DC in next 3 st 2 DC in next* repeat to end join with slst in top of first st (60 st)
Rnd 6 Ch1 1 HDC in each st (60 st)join slst in forst st
Rnd 7-21 repeat Rnd 6
Rnd 22 Ch1 1 SC in each st join slst in first, Finish and weave in ends .
When i change colour, I use the join to do it, when you slip stitch to the top of the stitch, pick up the new colour and finish your stitch with it, tie it off to the old colour and work your stitches over the 2 ends, this stops all the weaving in ends to finish your hat, you also dont see a Step if you use this method.
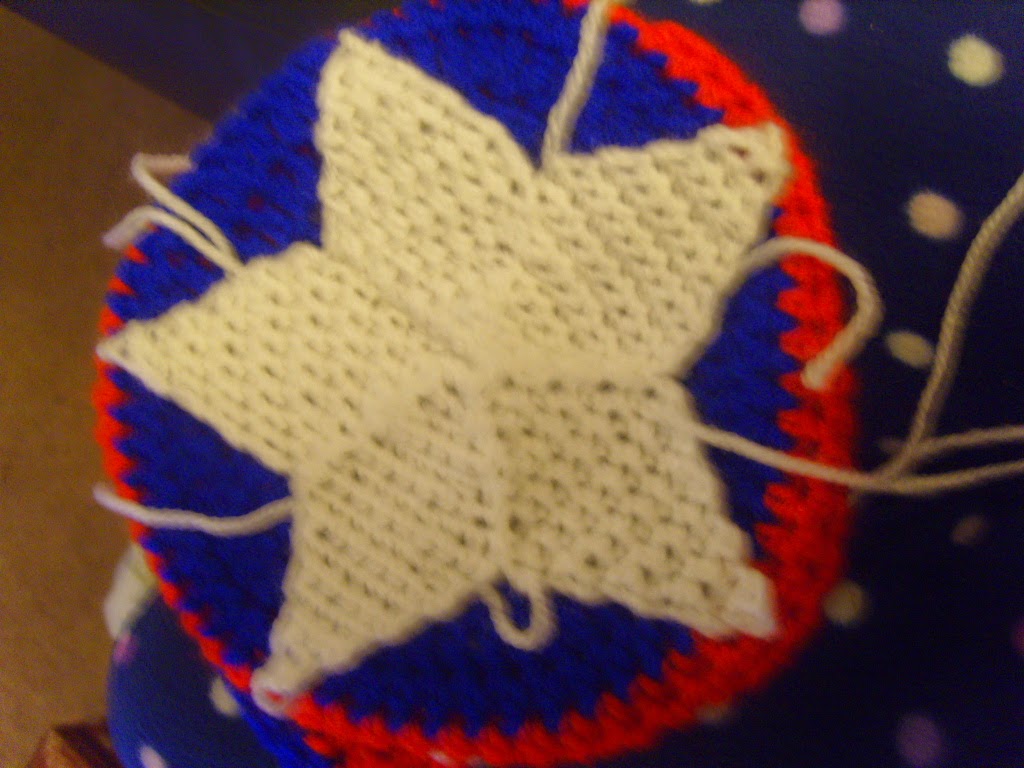
To make the Star on the top I made 5 Diamond Shapes and stitched the sides together,
These are then placed on top of the crown area of your hat,
 Then stitch in place, dont stitch too tight, you need movement in the hat or it wont stretch to fit, when its all secure turn your hat inside out and begin the job of neatening up the ends.
Then you are done! one Marvel-ous Beanie Fit for any CA fan

Happy Hooking xx


Comments
Post a Comment